Difference between revisions of "RPI-CONSOLE-U"
Jump to navigation
Jump to search
Blwikiadmin (talk | contribs) |
Blwikiadmin (talk | contribs) |
||
| Line 52: | Line 52: | ||
=== Test Procedure === | === Test Procedure === | ||
| − | Test setup as above | + | * Test setup as above |
| − | Test setup powered down | + | * Test setup powered down |
| − | Install UUT (RPI-Console card being tested) | + | * Install UUT (RPI-Console card being tested) |
| − | Disconnect USB cable to Arduino (not used for power) | + | * Disconnect USB cable to Arduino (not used for power) |
| − | Install P1 jumper on UUT (power the test station from the RPI-CONSOLE) | + | * Install P1 jumper on UUT (power the test station from the RPI-CONSOLE) |
| − | Connect USB cable from Test Computer (laptop) to UUT | + | * Connect USB cable from Test Computer (laptop) to UUT |
| − | Boards should power up | + | * Boards should power up |
| − | Run putty on Test Computer (laptop) | + | * Run putty on Test Computer (laptop) |
| − | Look in Device manager to make sure COM port was added | + | * Look in Device manager to make sure COM port was added |
| − | Select COM port in putty | + | * Select COM port in putty |
| − | Hit reset on Arduino Shield or attached to GVSDuino | + | * Hit reset on Arduino Shield or attached to GVSDuino |
| − | Verify the message comes back | + | * Verify the message comes back |
| + | <pre> | ||
The quick brown fox jumped over the lazy dog | The quick brown fox jumped over the lazy dog | ||
0123456789 | 0123456789 | ||
asdfghjkl | asdfghjkl | ||
Hit keys to test | Hit keys to test | ||
| − | Type and verify that the character comes back | + | </pre> |
| − | Disconnect USB to RPI-Console | + | * Type and verify that the character comes back |
| + | * Disconnect USB to RPI-Console | ||
| + | |||
Specs | Specs | ||
26-pin stacking connector | 26-pin stacking connector | ||
Revision as of 13:09, 24 January 2020
Contents
Features
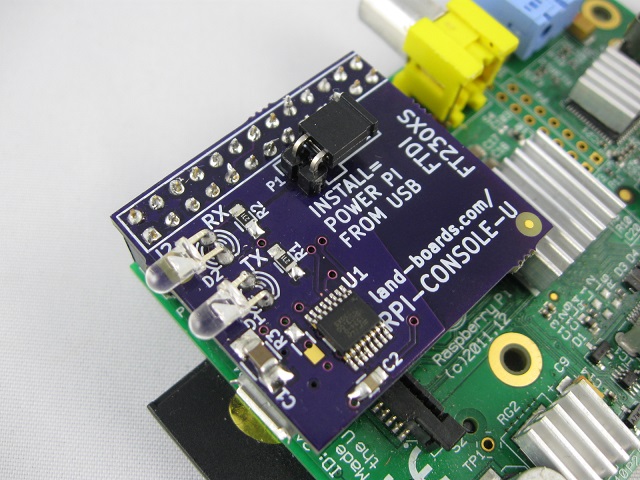
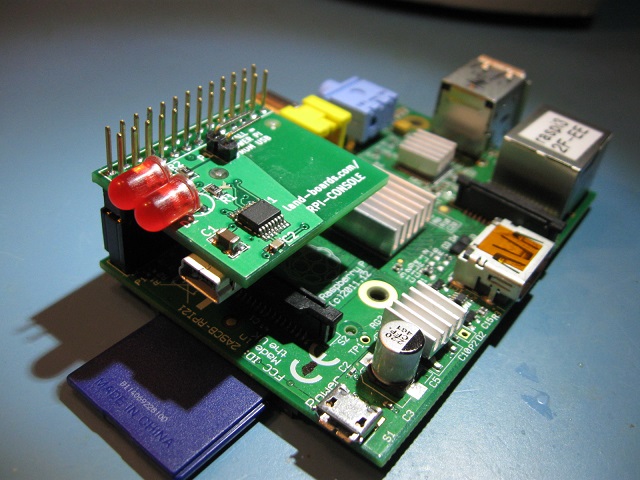
- Console port lets you talk to your Raspberry Pi over USB without a keyboard/mouse/monitor or Ethernet connection.
- 115200 baud
- USB Micro-B connector
- Mounted on the bottom of the card
- See also our USB Mini connector version
- Real FTDi FT230XS
- Jumper selectable - power the Pi from your computer's USB port.
- Some nwere Pi cards may take too much power
- Transmit/receive LEDs
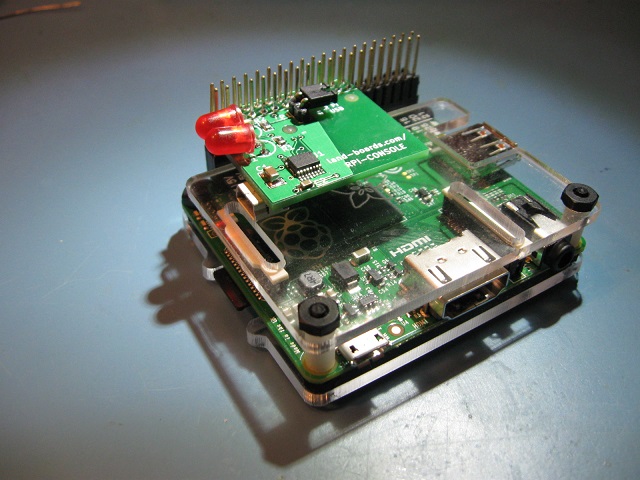
- 26-pin connector works with Model A and Model B Pis
Options
Extended 26-pin Connector
From RPI-CONSOLE page
Extended 40-pin Connector
From RPI-CONSOLE page
Low profile 26-pin Connector
Driver
Prototype Qualification Tests
Factory Acceptance Tests
Test Procedure
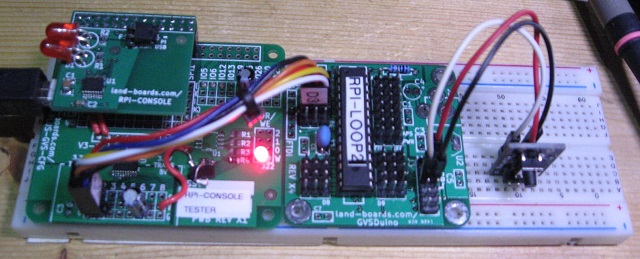
- Test setup as above
- Test setup powered down
- Install UUT (RPI-Console card being tested)
- Disconnect USB cable to Arduino (not used for power)
- Install P1 jumper on UUT (power the test station from the RPI-CONSOLE)
- Connect USB cable from Test Computer (laptop) to UUT
- Boards should power up
- Run putty on Test Computer (laptop)
- Look in Device manager to make sure COM port was added
- Select COM port in putty
- Hit reset on Arduino Shield or attached to GVSDuino
- Verify the message comes back
The quick brown fox jumped over the lazy dog
0123456789
asdfghjkl
Hit keys to test
- Type and verify that the character comes back
- Disconnect USB to RPI-Console
Specs 26-pin stacking connector 40-pin stacking connector External links Adafruit tutorial NOOBS without a display How COM Ports Are Allocated On Driver Installation Assembly Sheet RPI-CONSOLE Assembly Sheet Rev X3 (vs X2) Moved "Power Pi from USB" connector to center of card Rev X2 (vs X1) Moved connector slightly closer to the edge Made USB connector PWB pads longer Rev X1 Checkout Micro USB mounting holes fit well Connector could be slightly farther to the edge USB connector PWB pads were too short - trimmed pins to fit Ordered 3 more from OshPark new X2 rev


