Difference between revisions of "ESP32-TERM"
Jump to navigation
Jump to search
Blwikiadmin (talk | contribs) |
Blwikiadmin (talk | contribs) |
||
| Line 1: | Line 1: | ||
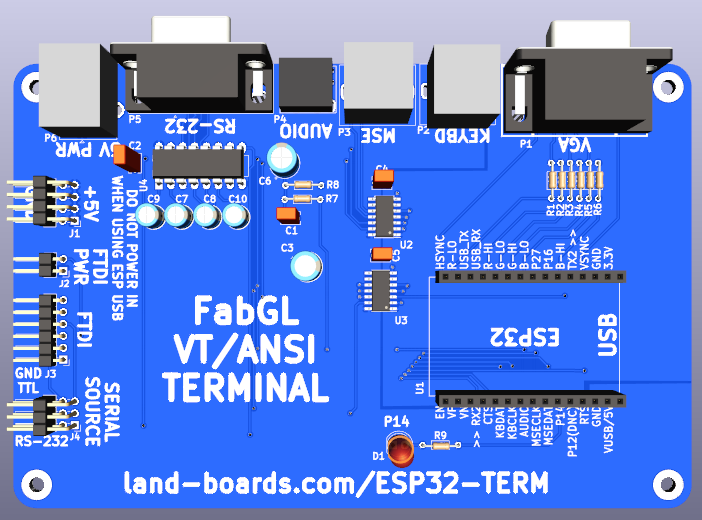
[[file:ESP32-TERM_Front_3D.png]] | [[file:ESP32-TERM_Front_3D.png]] | ||
| − | <video type="youtube">Ww_pH_ZOLqU | + | <video type="youtube">Ww_pH_ZOLqU<video> |
== Features == | == Features == | ||
Revision as of 17:45, 16 August 2024
Contents
FabGL Arduino library
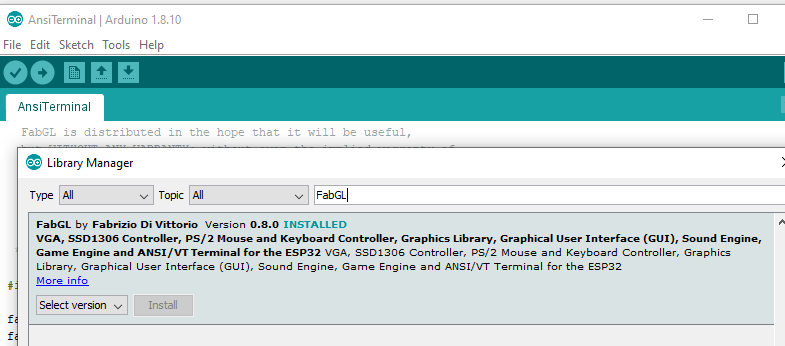
Installing the released library
Using Latest FabGL builds
- Fabrizio does a nice job of keeping his Arduino libraries up to date but if you want a bleeding edge experience, you can download his code from GitHub. Note, he's in active development so things often change.
Here's how I did it
- Install drivers via Arduino from the Library Manager. These are not the latest files. Space Invaders should run but not have sound (as of now because it's the older version).
- Move the FabGL from the Arduino libraries file folder to the desktop.
- Copy the FabGL from the GitHub download to the Arduino files folder (where you removed the other folder).
- Examples will now be the latest.
- Compile/download/test the new files. You know it works if you now get sound from Space Invaders.
- Save as where you would normally save your Arduino sketches.
Arduino Programming
- Installing the ESP32 Board in Arduino IDE (Windows, Mac OS X, Linux)
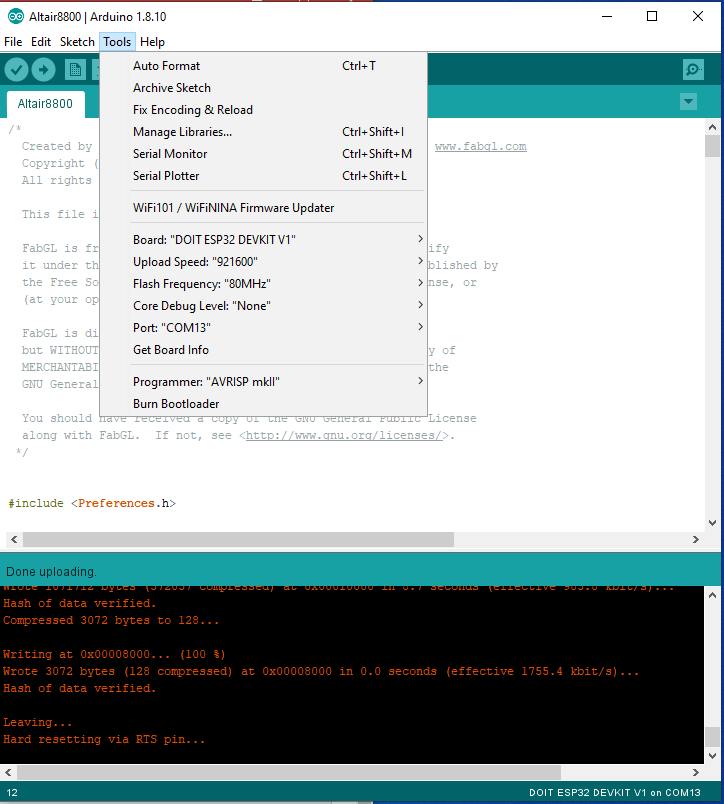
- Board : "DOIT ESP32 DEVKIT V1"
- Used Board : ESP32 Dev Module with Tools > Partition Scheme > Huge APP option to run VIC-20 (2022-09)
- DOIT module does not have PSRAM
- Can't run PC Emulator without PSRAM
- If you try to upload a new sketch to your ESP32 and you get this error message “A fatal error occurred: Failed to connect to ESP32: Timed out… Connecting…“. It means that your ESP32 is not in flashing/uploading mode.
- Press the “Upload” button in the Arduino IDE to upload your sketch
- After you see the “Connecting….” message in your Arduino IDE, release the finger from the “BOOT” button:
Other Builds


