Difference between revisions of "Extend IOP16 minimal example"
Jump to navigation
Jump to search
Blwikiadmin (talk | contribs) |
Blwikiadmin (talk | contribs) |
||
| Line 16: | Line 16: | ||
Start by building the [https://github.com/douggilliland/IOP16/tree/main/Higher_Level_Examples/TestIOP16_Minimal minimal example] in Quartus II | Start by building the [https://github.com/douggilliland/IOP16/tree/main/Higher_Level_Examples/TestIOP16_Minimal minimal example] in Quartus II | ||
| + | * Open the Project file in Quartus II | ||
* Entities in Quartus should look like | * Entities in Quartus should look like | ||
Revision as of 11:07, 11 April 2022
Contents
Overview
- This is a guide to extending the minimal IOP example by adding IOP16 Peripherals to the minimal design
- This is not the same as Embedding the IOP16 into another design
- This guide requires general familiarity with IOP16 16-bit I/O CPU Design
Clone Sources
Clone the two repositories to the same directory level since relative paths are used for source files
Build Minimal Example
Start by building the minimal example in Quartus II
- Open the Project file in Quartus II
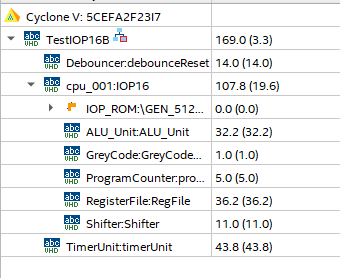
- Entities in Quartus should look like
- This example does not cover porting to a different FPGA card
- Will need to adjust I/O pin assignments if a different FPGA is used
- May need to re-point to the ROM .MIF file since Quartus II sometimes "forgets"
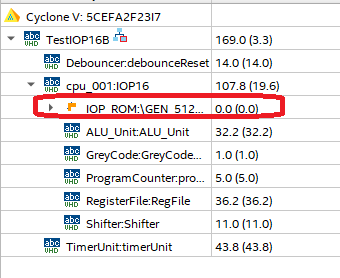
- Double clicking on the IOP_ROM file
Steps
- Copy baseline design
- Select/add peripherals
- Create new peripherals
- Write assembly code
Baseline Design
- Starts from IOP example
- Similar to Arduino "Blink Sketch" and uses the resources
- Timer Unit 0 1 second timer
- On-board LED
- The Timer unit could be removed if desired
- Timer makes Blink easier
- Similar to Arduino "Blink Sketch" and uses the resources
- Copy the minimal design to a new folder

